
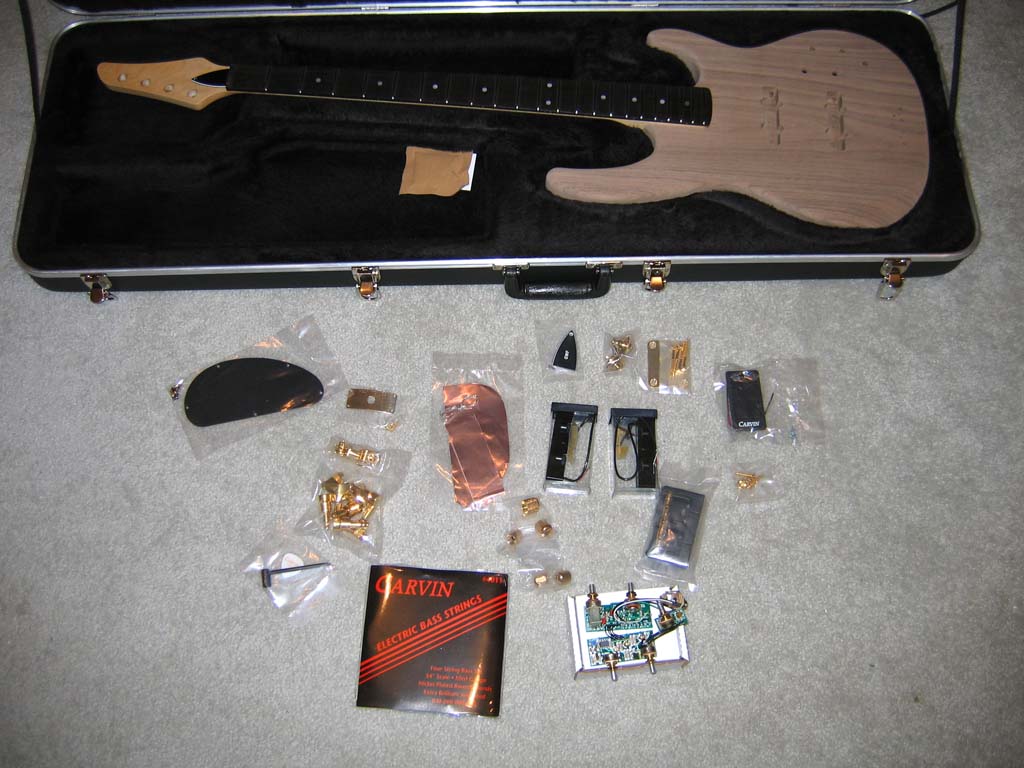
| This is Carvin's BK4A Bass Kit. The
"A" stands for the Active Electronics. This was ordered with the following;
I will post each step of the project along the way. I will post a Step-By-Step list of how I did this. |
Click Images for Larger View
 |
 |
 |
|
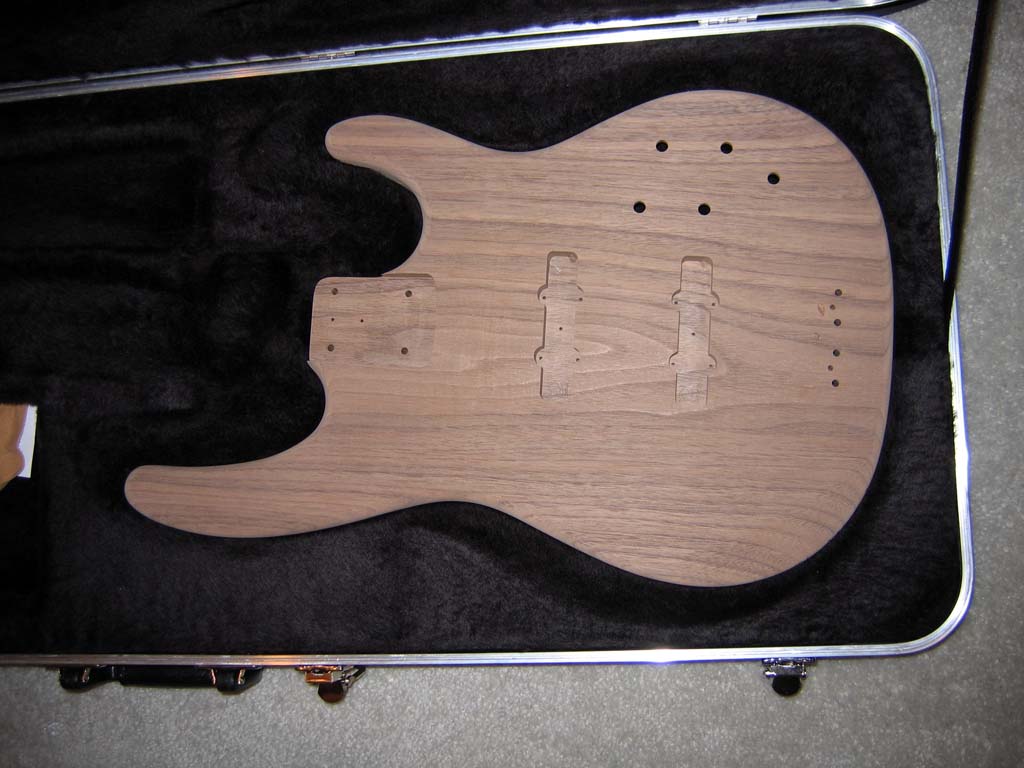
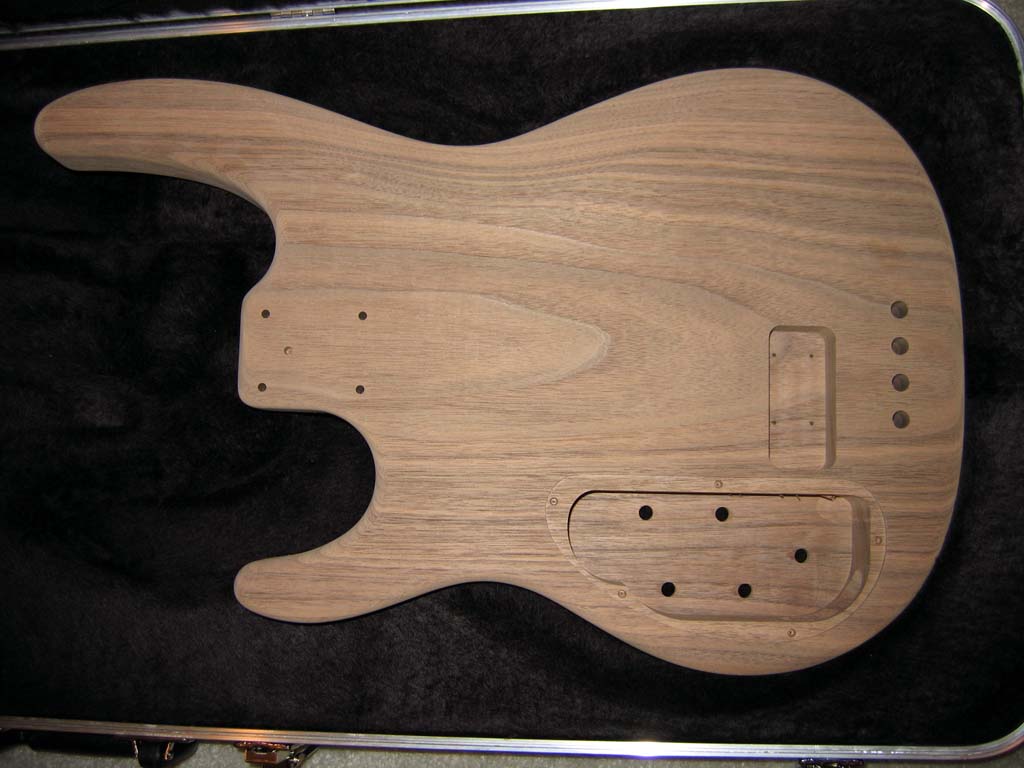
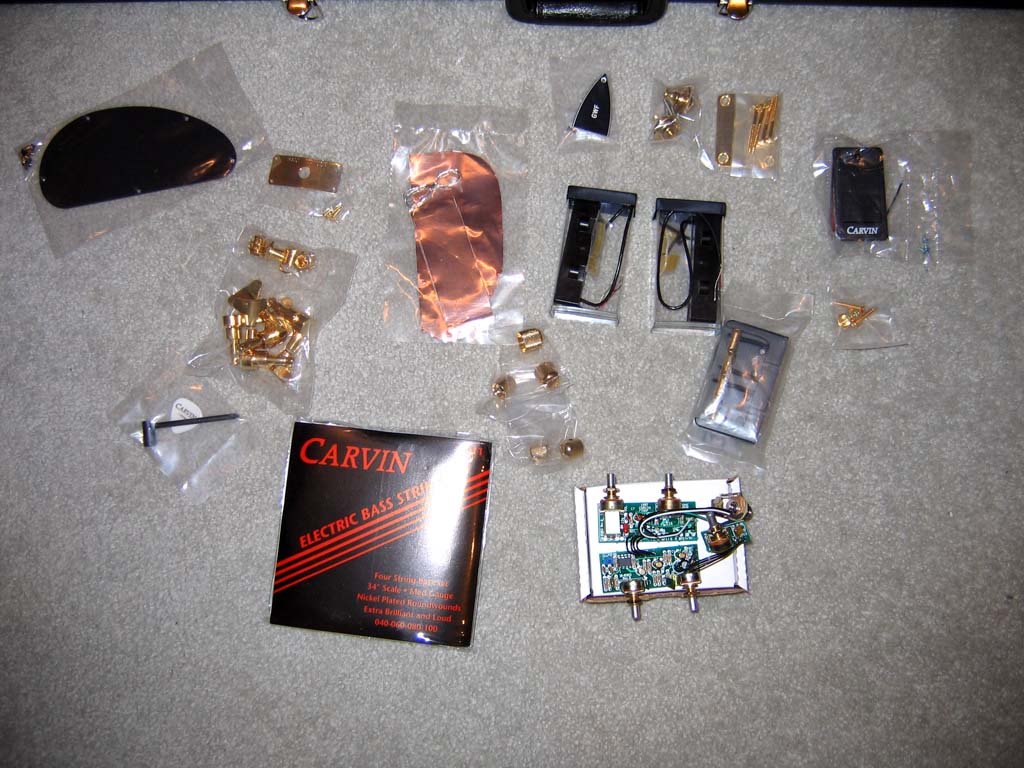
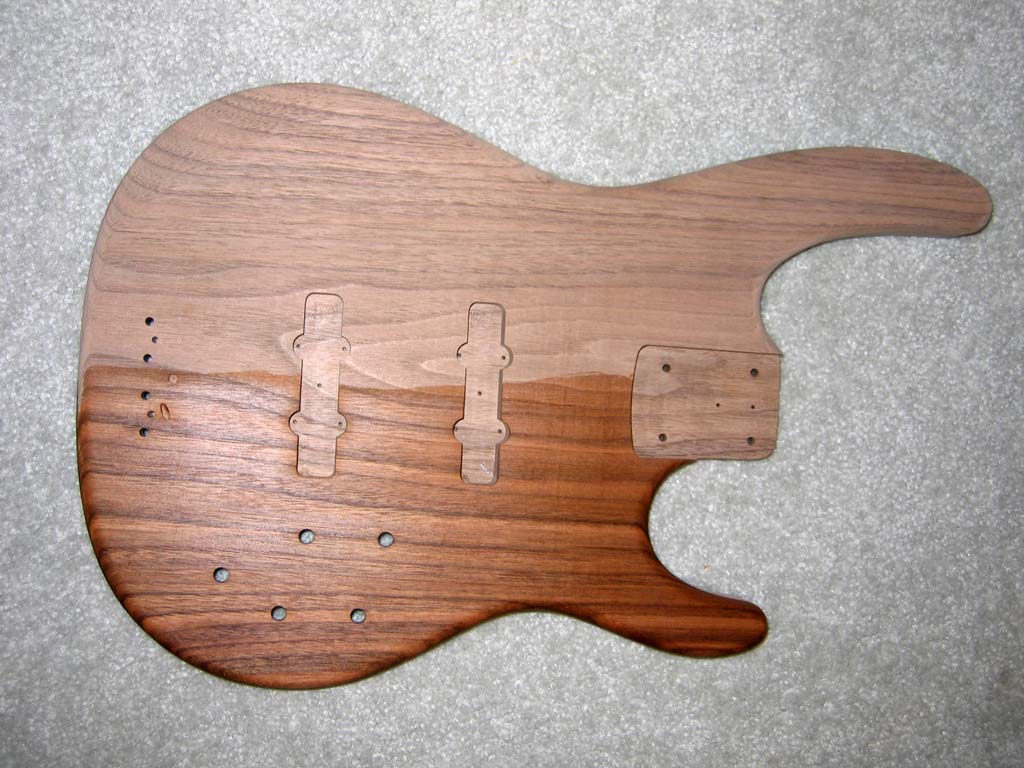
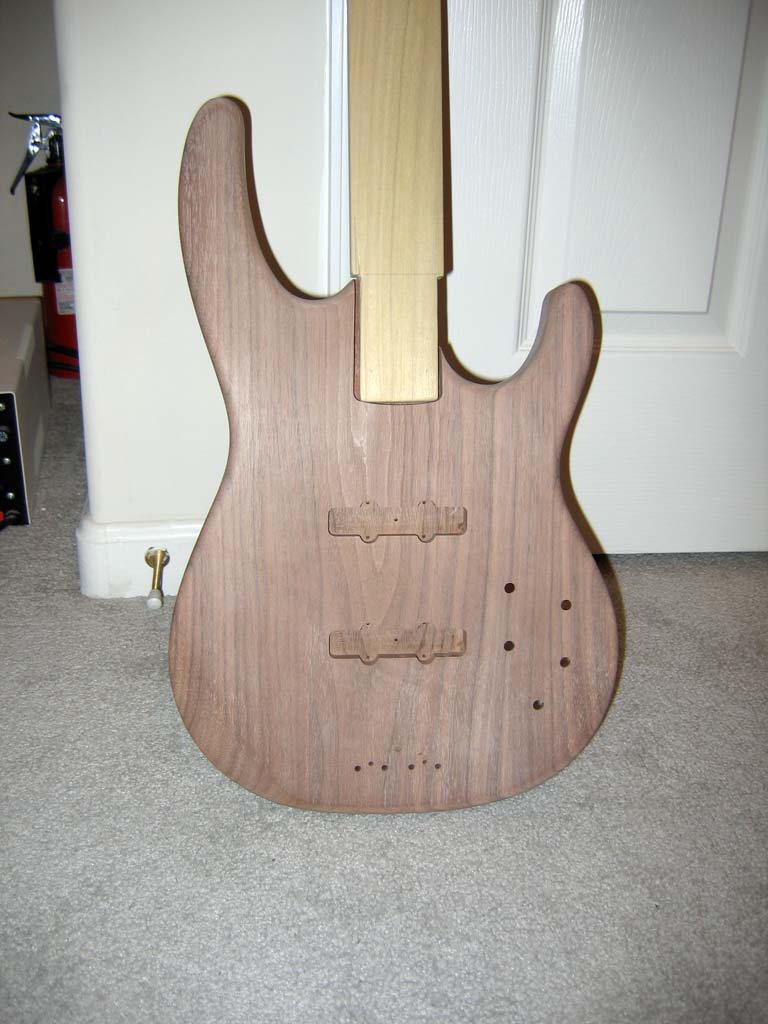
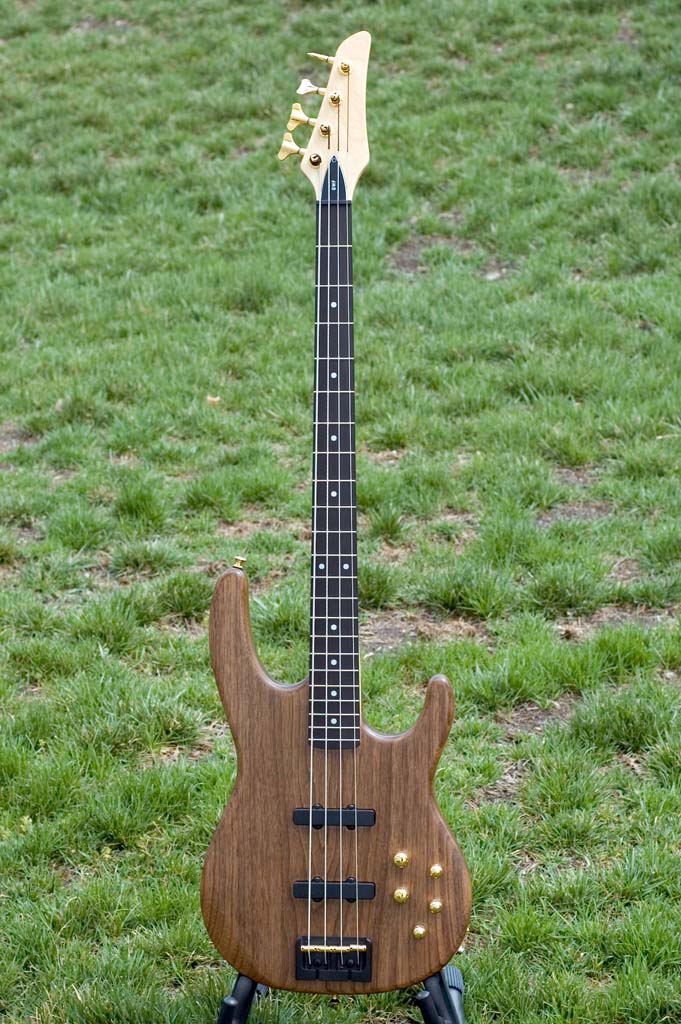
| The Complete Kit | Walnut Body Front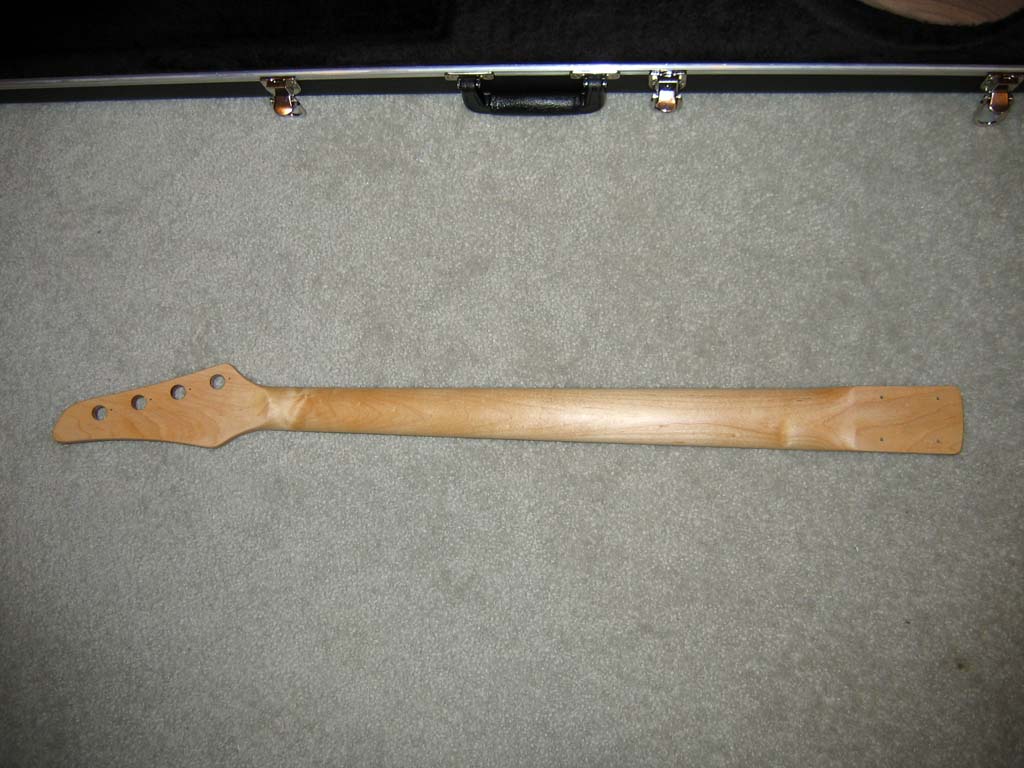 |
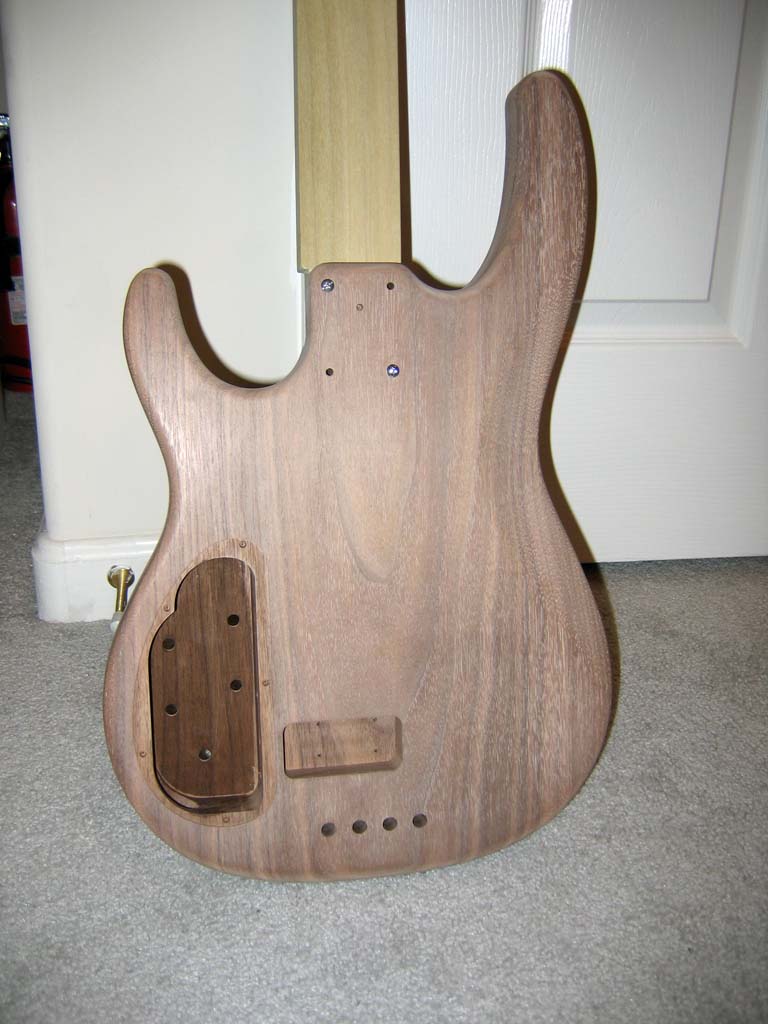
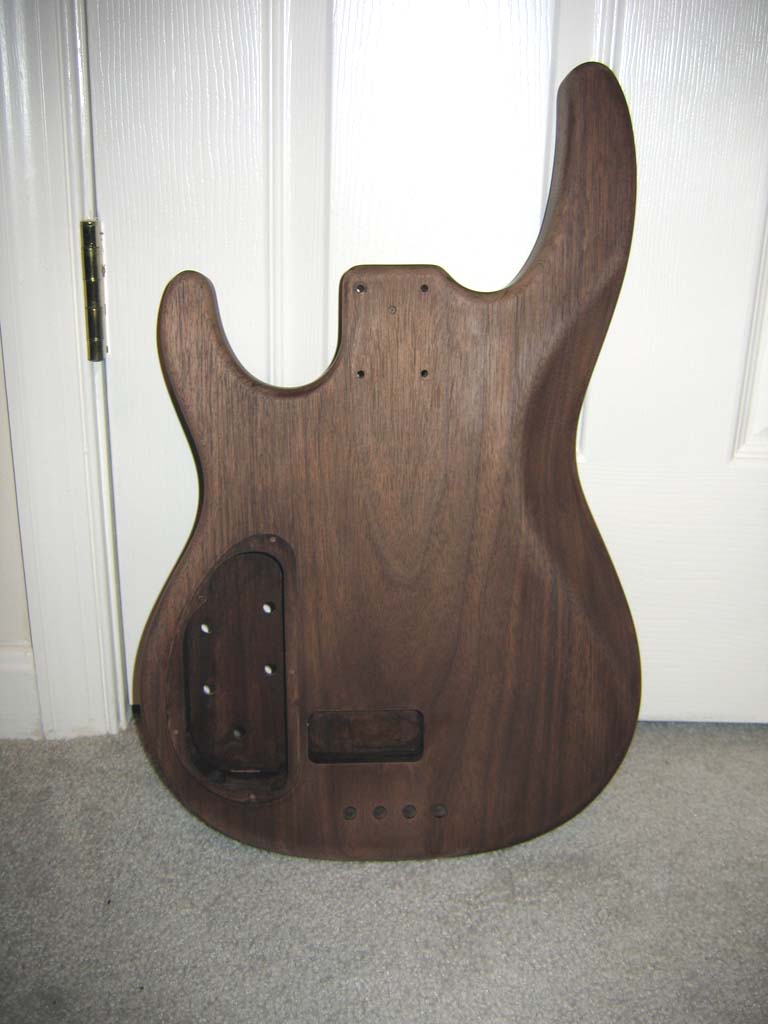
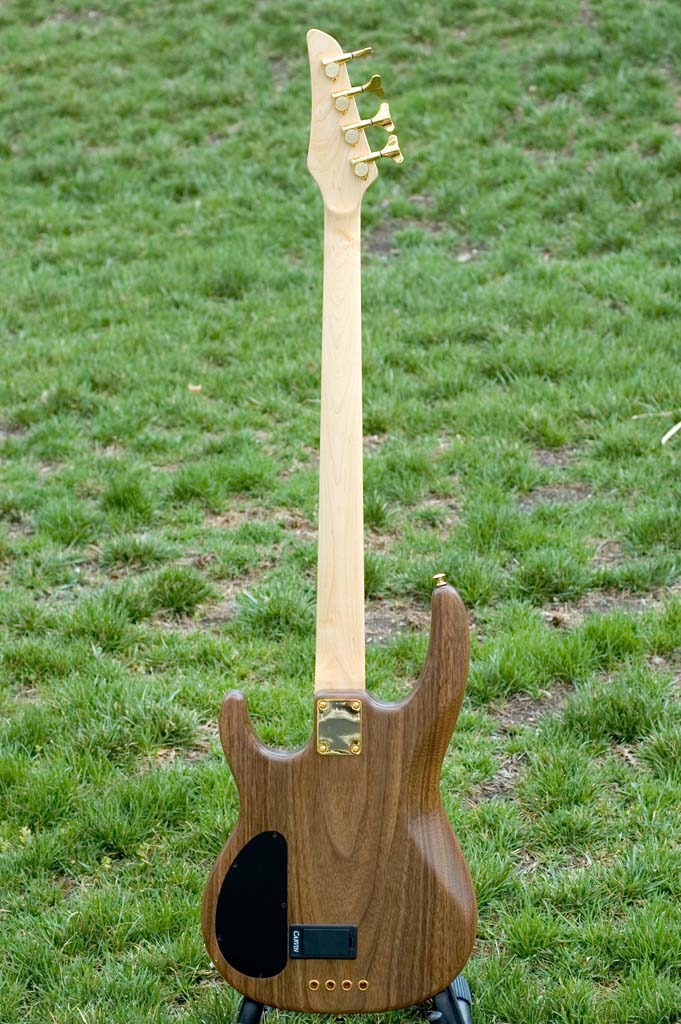
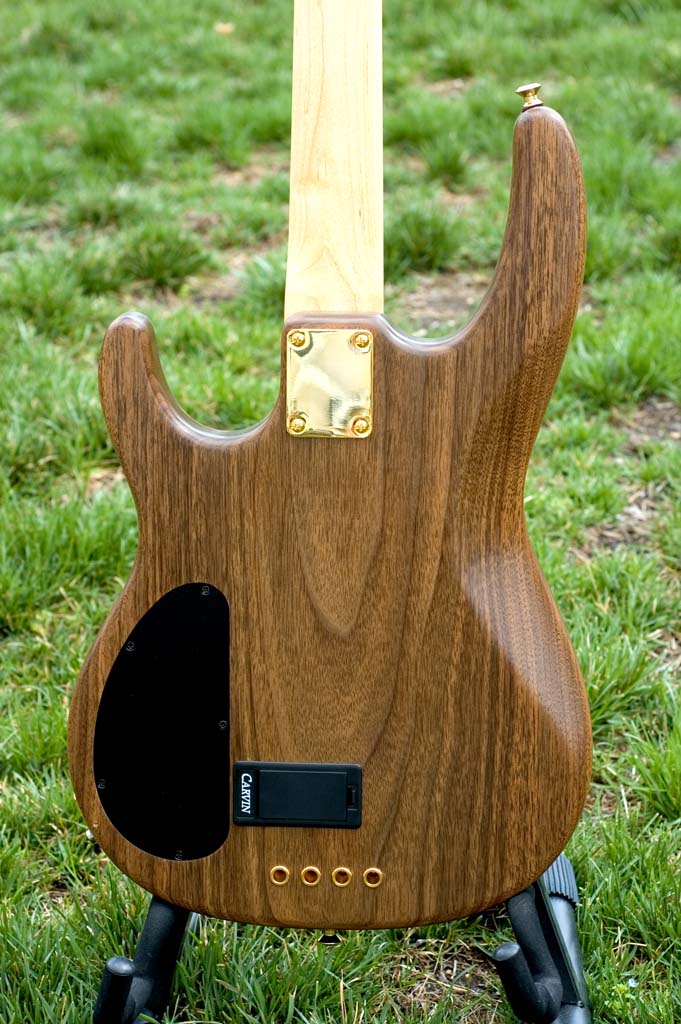
Walnut Body Back | Tung Oil Neck |
 |
 |
 |
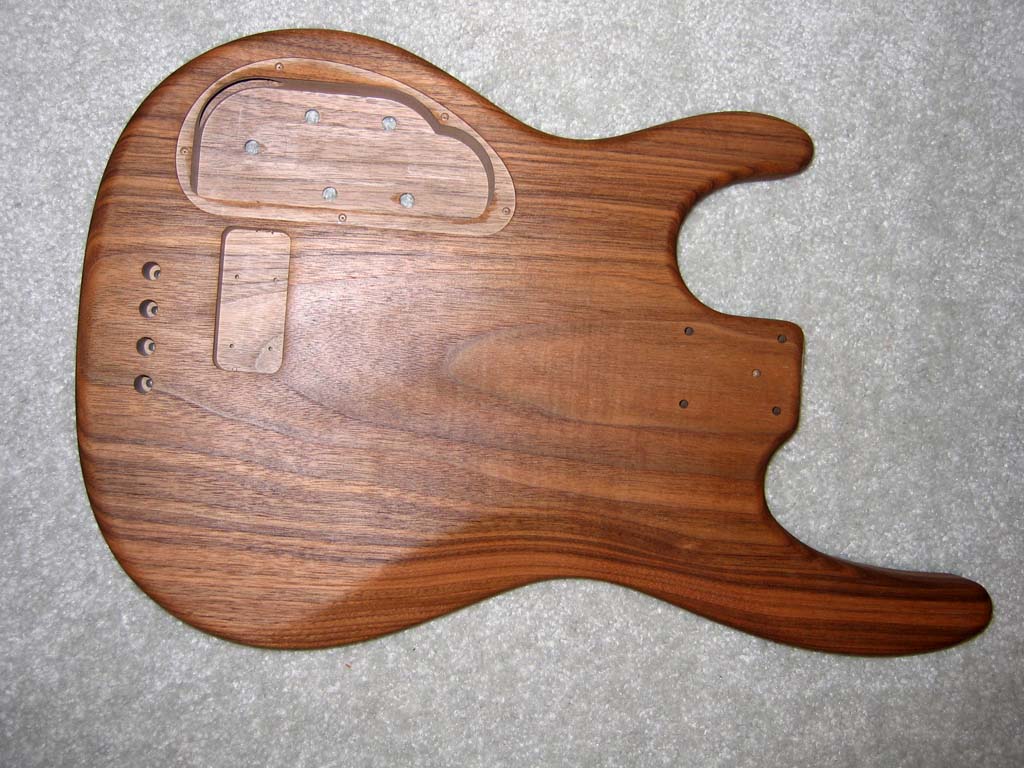 |
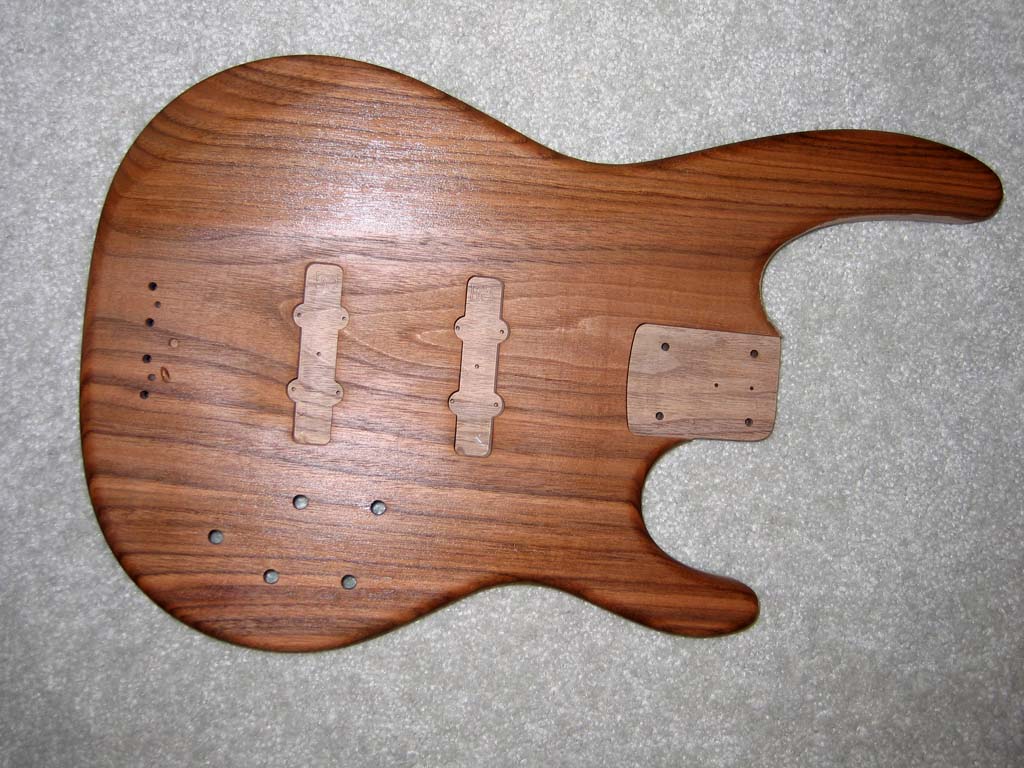
| Complete Hardware | Wet Half of grain to show possible end color | All wet to raise the grain (front) | Wet grain (rear) |
 |
|||
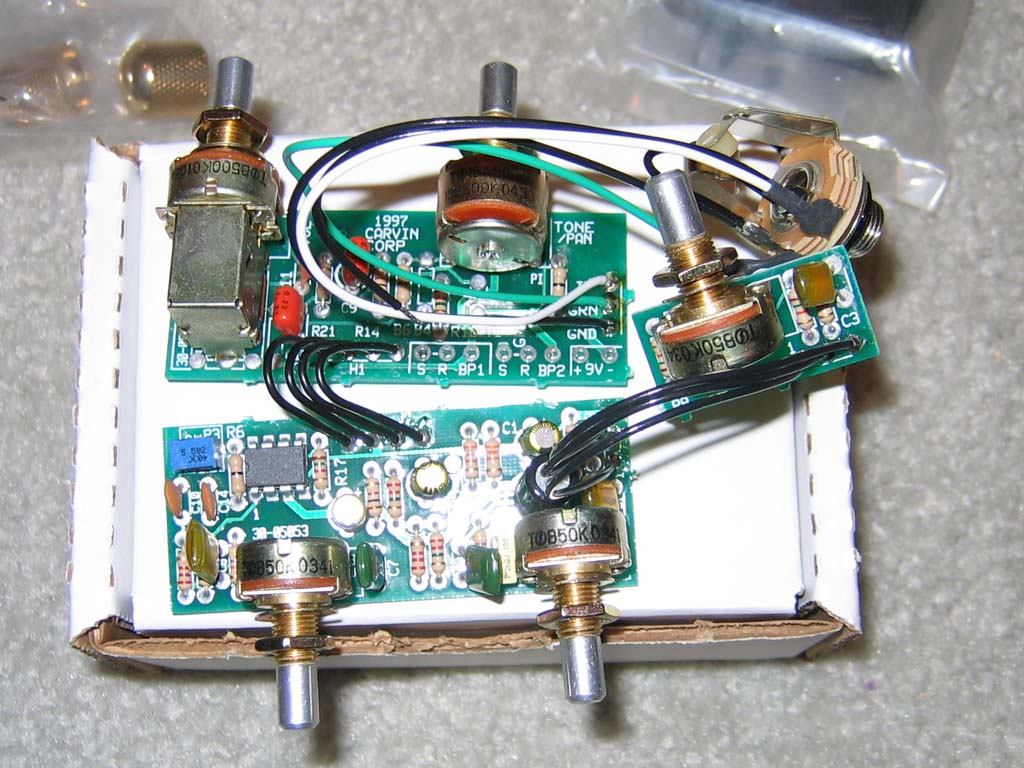
| Active Electronics Module |
|
This was a tough choice. I liked the natural look, but I had in my mind I wanted a Dark Walnut all along. I was going to use Tung Oil, but I have finished Gun Stocks in the past and used True-Oil by Birchwood Casey. I went to a local gun shop and purchased a Stock Finishing Kit. The Walnut stain in the kit was too light and gave it an Orange appearance. I went to Home Depot and got the MinWax stain. The first coat of stain was a little tough, as it was drying and leaving dark buildup before I could wipe it off. I did it outside, and maybe that was causing the fast drying. I wiped it down vigorously after it was coated well, even using a wet terry cloth towel. The dark stain still hid a little too much grain, so I sanded again with a 320 Grit 3M sanding pad.
|
 |
 |
 |
 |
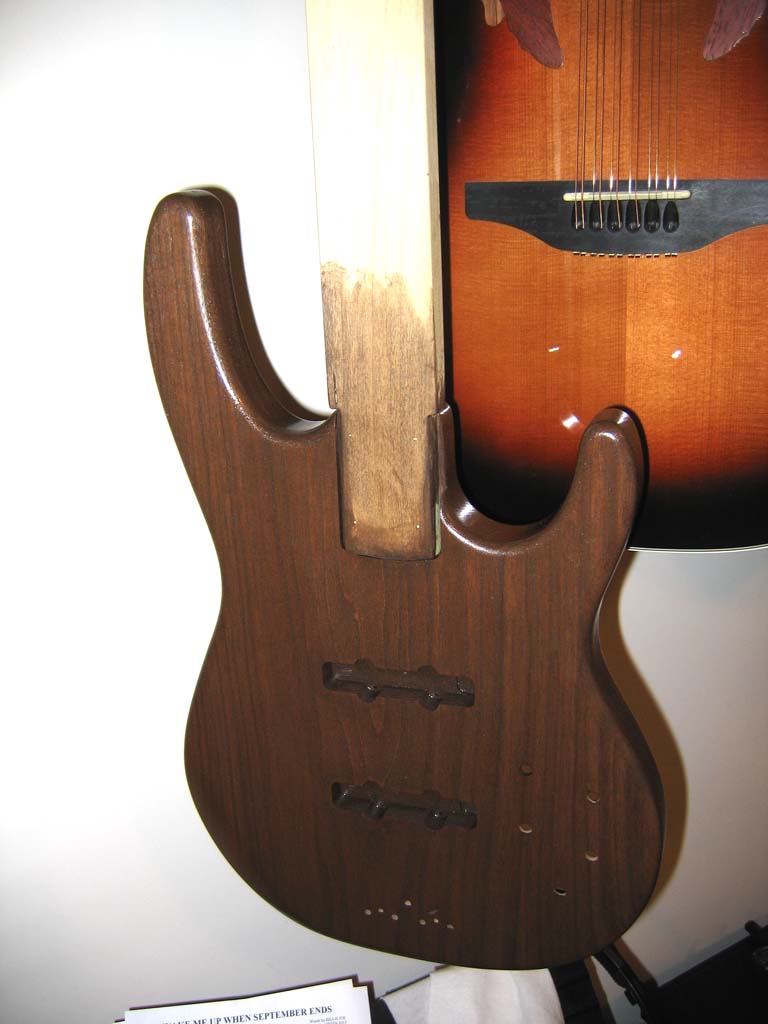
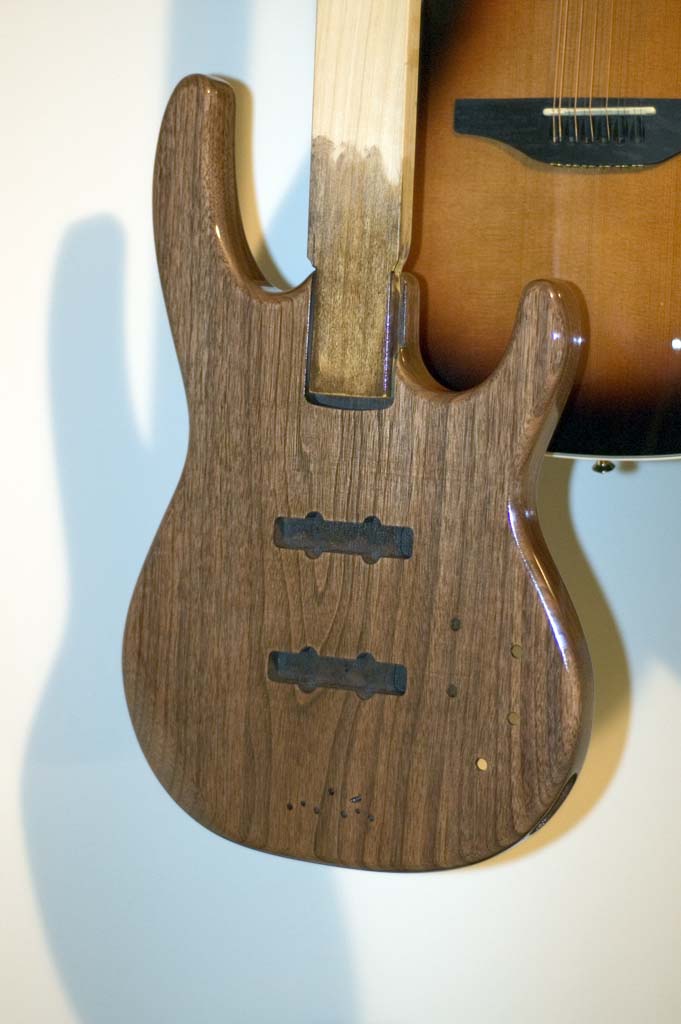
| Here is the body after raising the grain by wetting it, then sanding. |
The dark electronics cavity is from the MinWax American Walnut Waterbase Stain. |
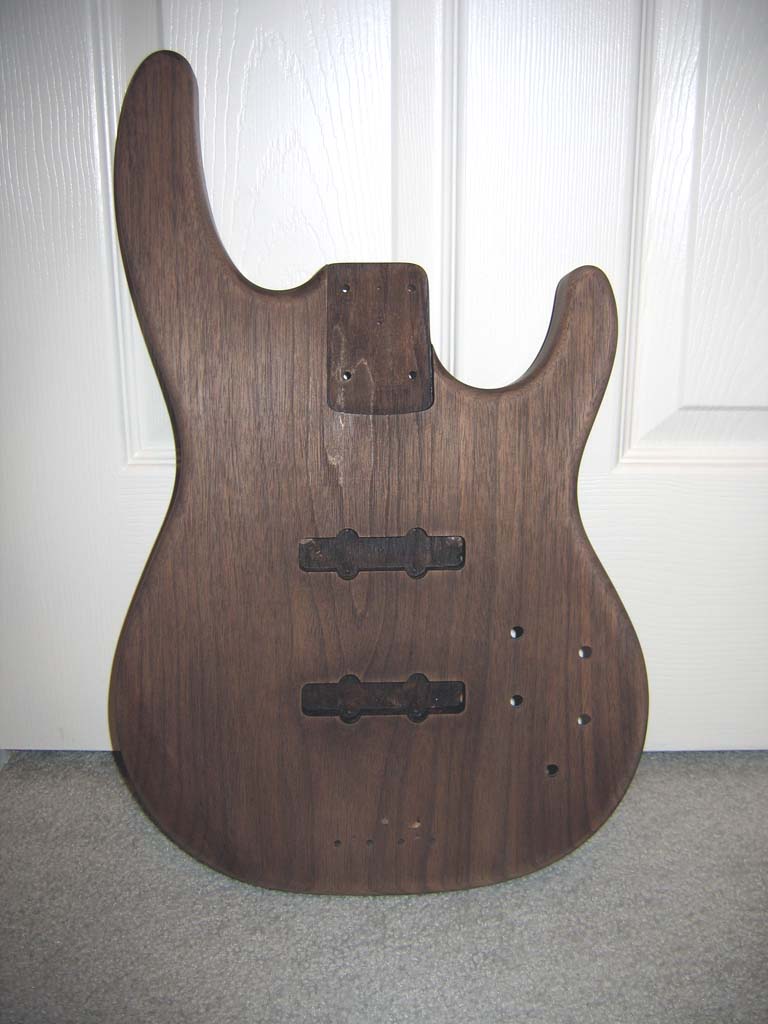
Here is a shot after MinWax American Walnut, and then sanding with a 320 Grit 3M pad. |
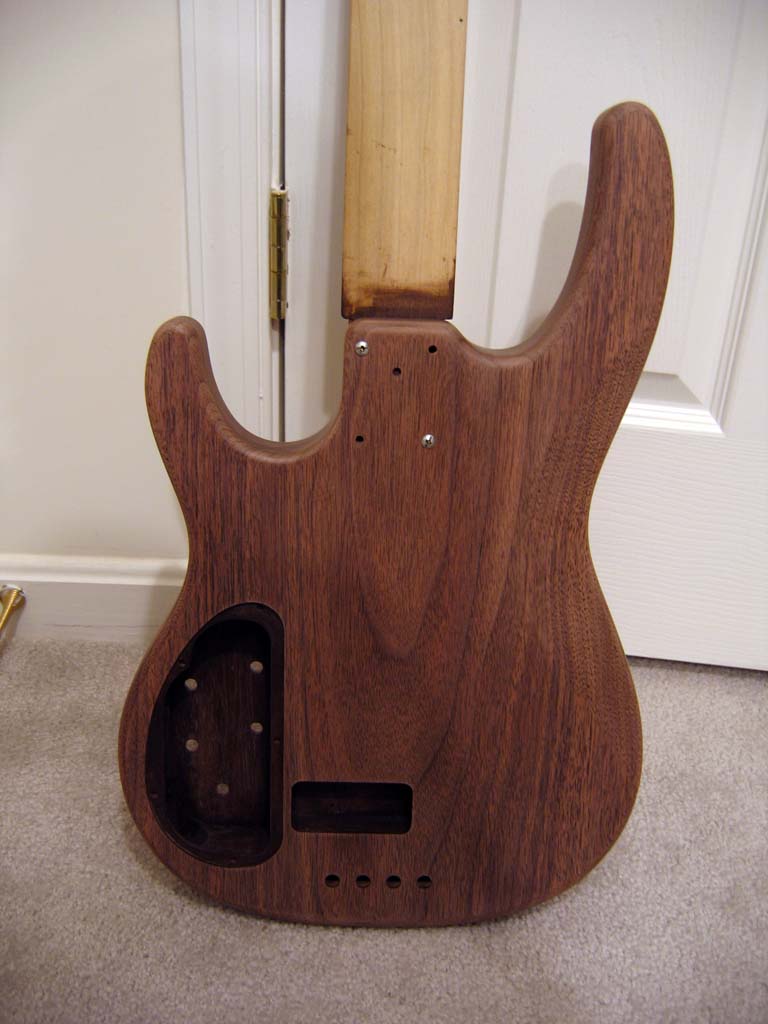
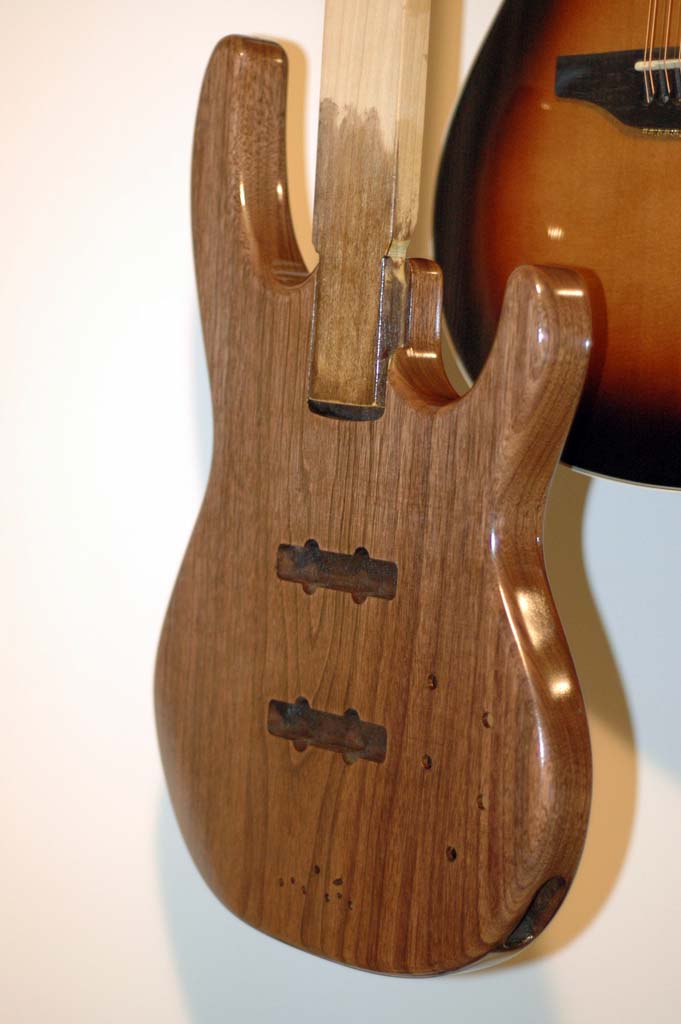
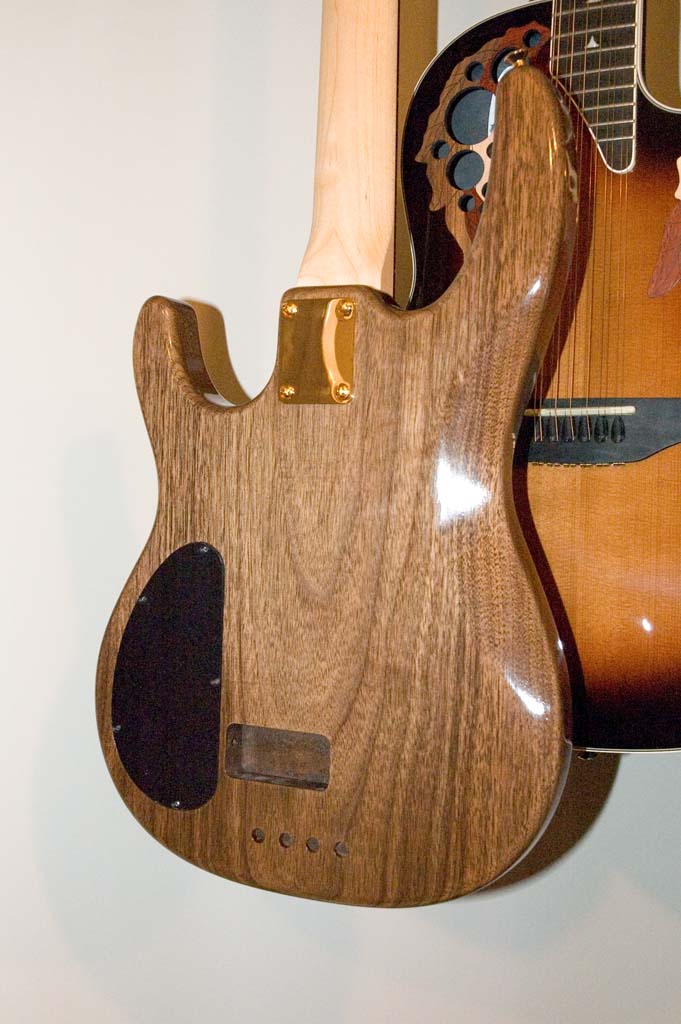
Here is the rear. The cavity is darker because
it is not sanded like the top surfaces. I'm not too worried about the cavity as it is covered with Foil anyway. I do plan to seal the cavity like the rest of the body. |
 |
 |
 |
 |
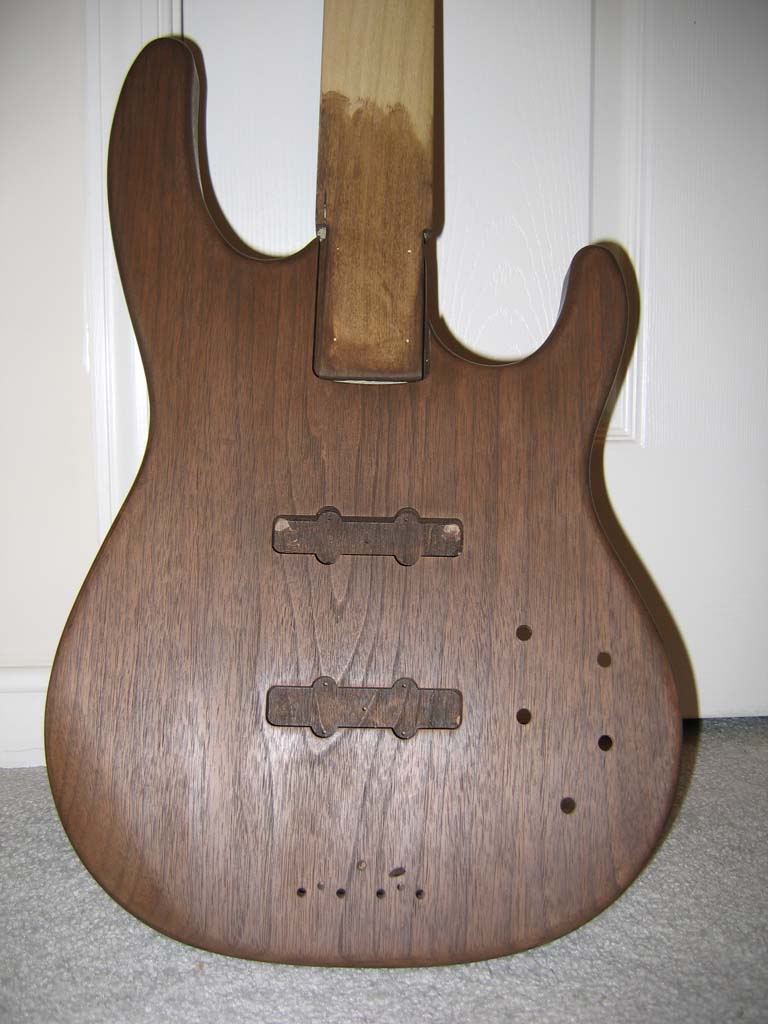
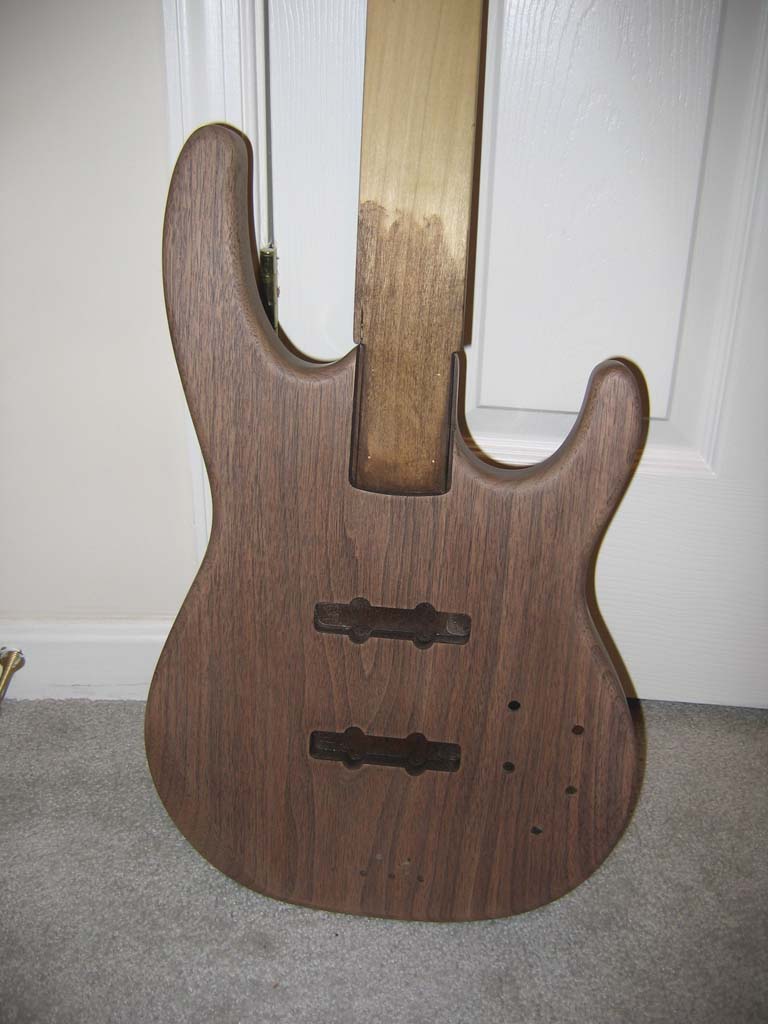
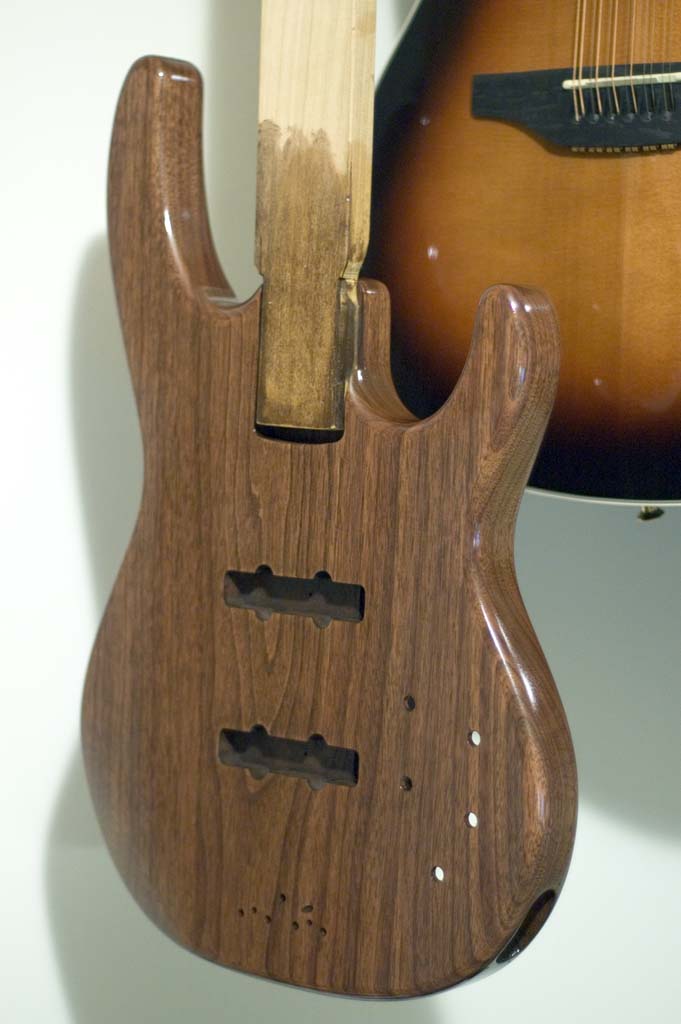
| Here are a few shots after the 2nd coat of American Walnut stain |
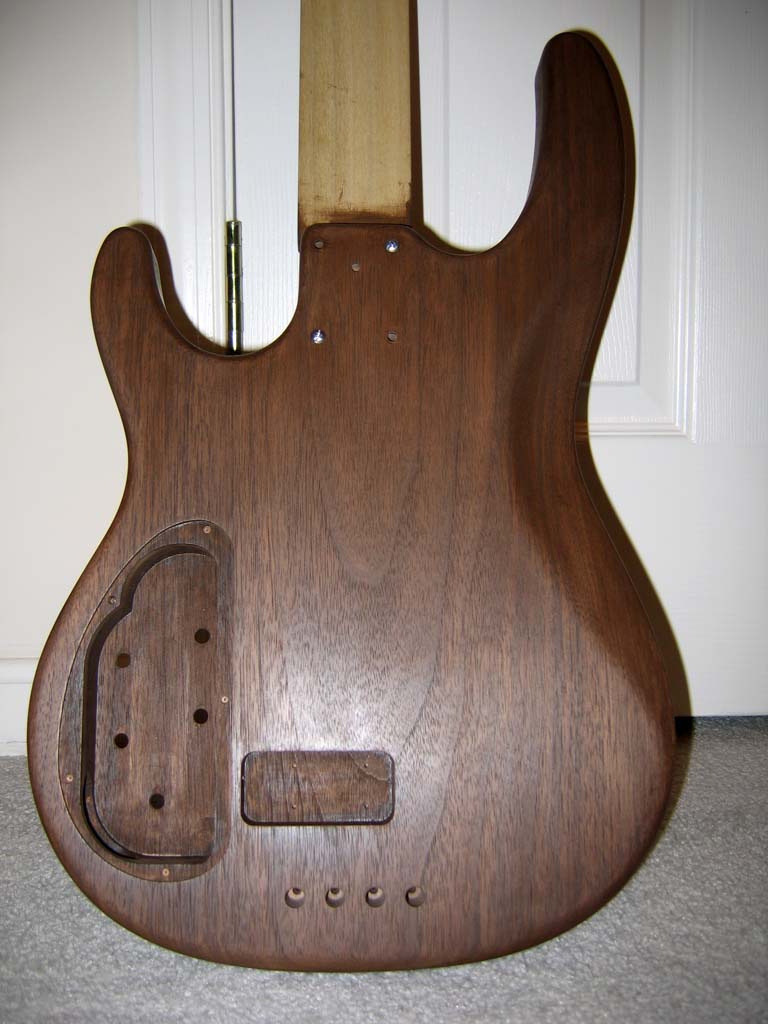
Rear shot after 2nd coat of American Walnut stain |
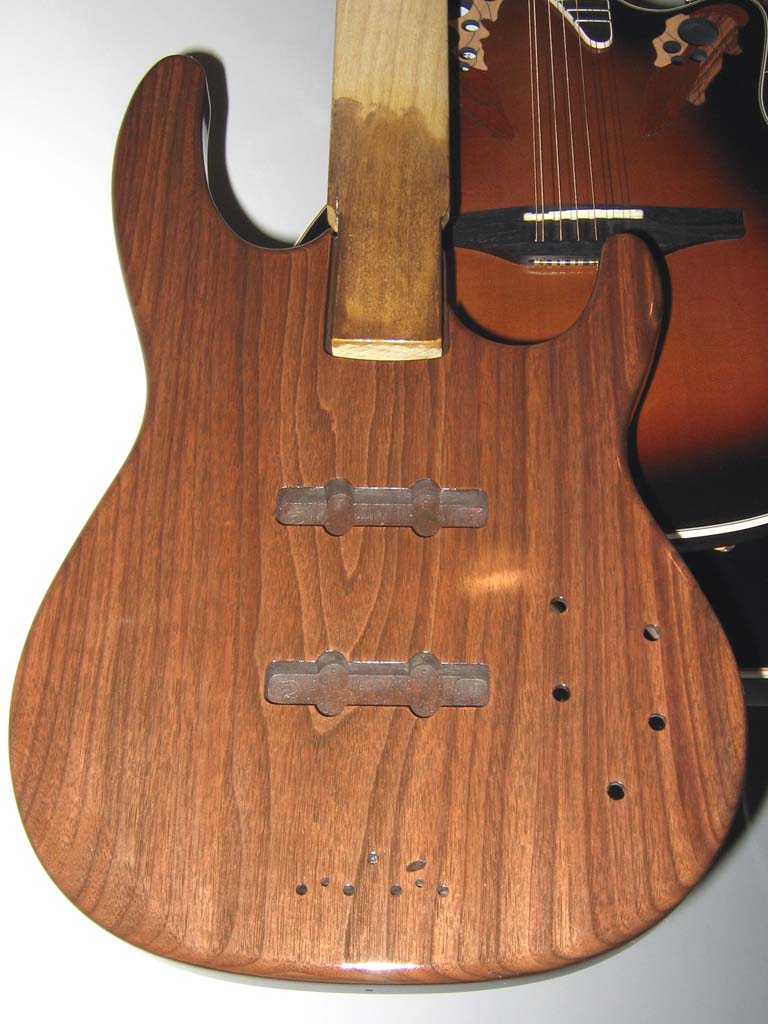
First coat of Tru-Oil. Applied liberally, then when the wood could soak up no more, I wiped it down. |
This photo was shot with the flash. The Tru-Oil is still wet. After 24 hours of drying, I will fill the pores with a method recommended by Birchwood-Casey. I will wet sand with 400 grit and Tru-Oil as the medium and work this slurry mess into the pores with my fingers. I will wipe off the excess slurry across the grain. This may be repeated until the finish is glass smooth. |
 |
 |
 |
 |
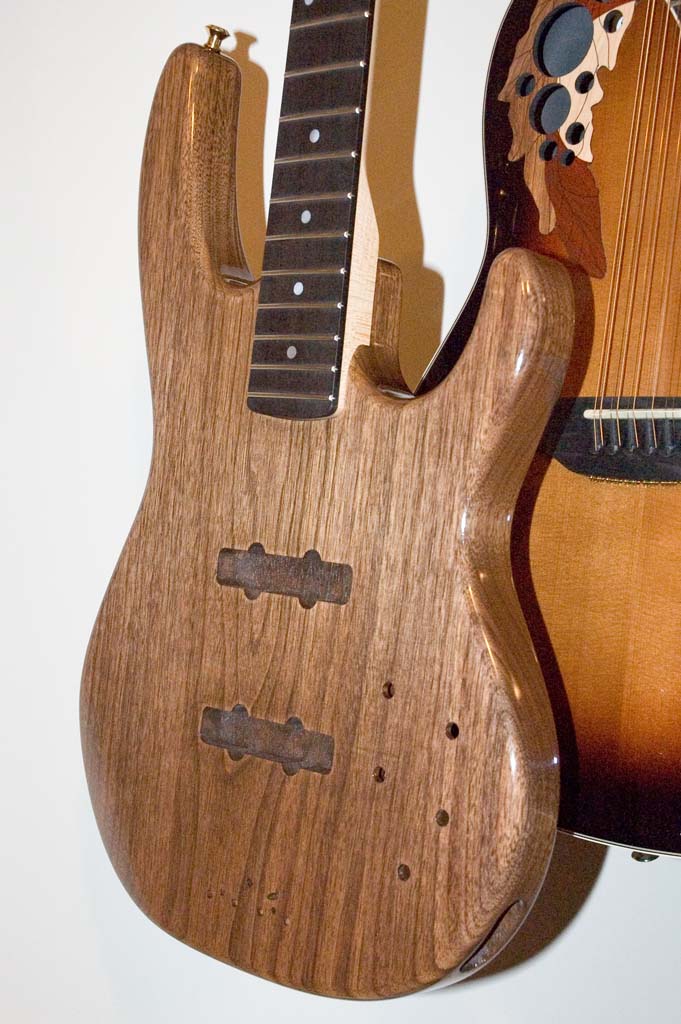
| The previous photos show how the stain masked the grain too much. I decided to sand again. |
This sanding was perfect. The stain still made the grain nice and dark, but lightened the overall finsih. |
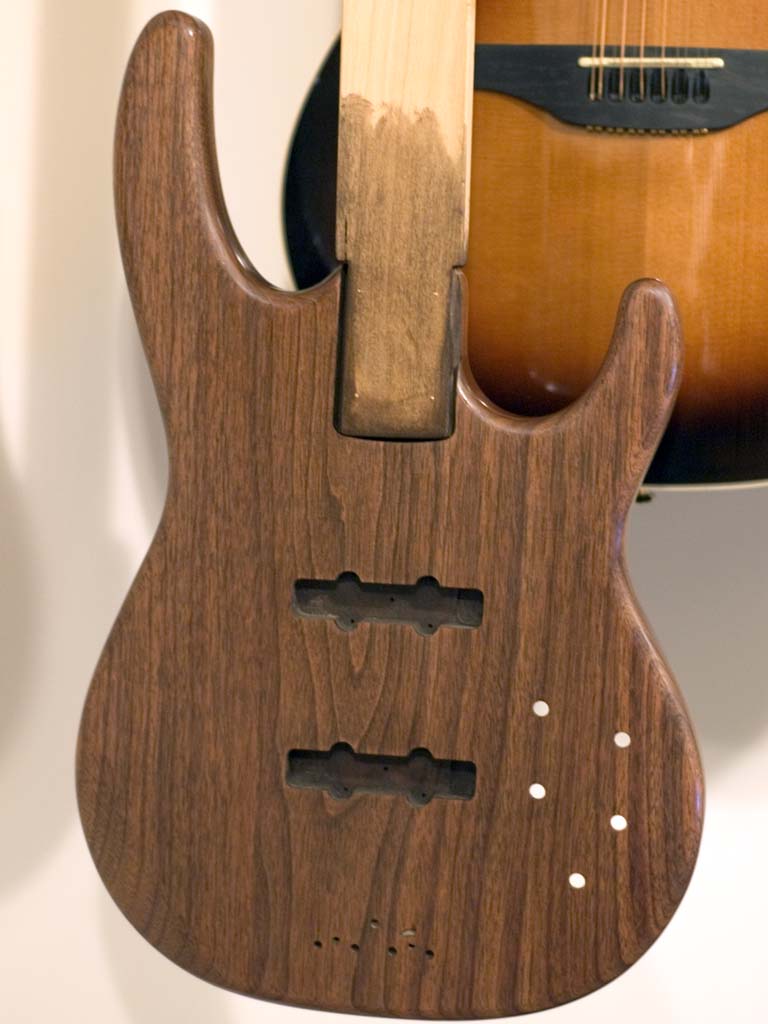
This was shot with a flash. It makes the finish look darker than it is. |
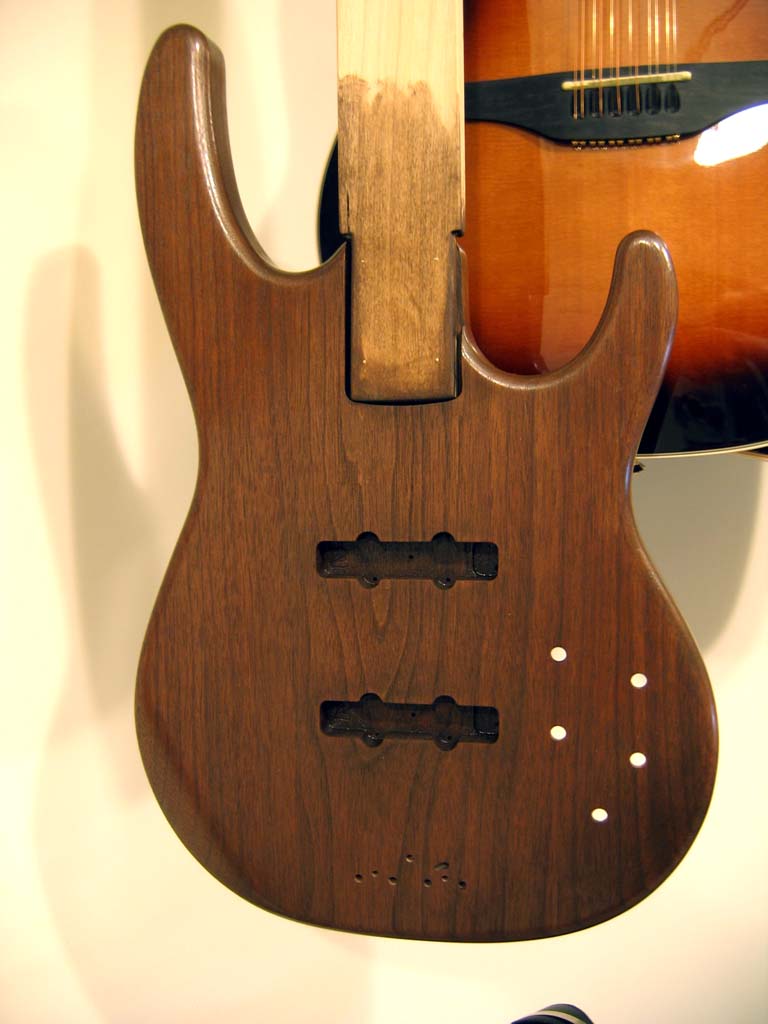
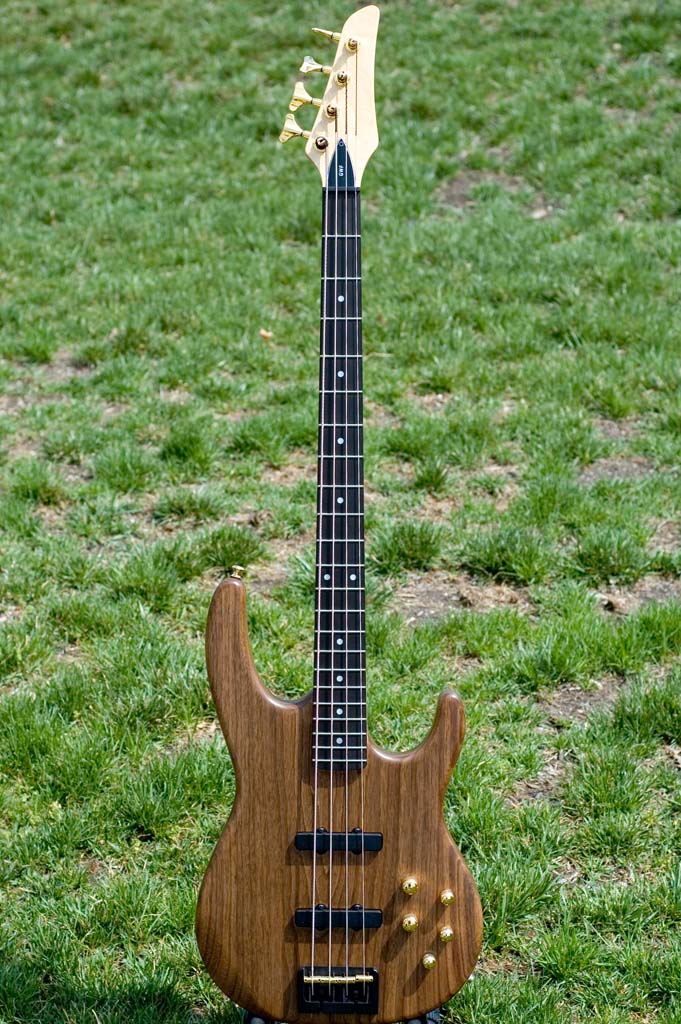
This is the most accurate photo I have of the color. Of course when you use a Nikon D70, it should be right! I love the way the grain is showing. |
 |
 |
 |
 |
| After first spray coat | After first spray coat | After first spray coat | I decided to go back to hand rubbing the finish on,
as it gives me a much more uniform coverage. I am now thinning the Tru-Oil with 25% Mineral Spirits to put thinner coats down. Light steel wool between coats. |
 |
 |
 |
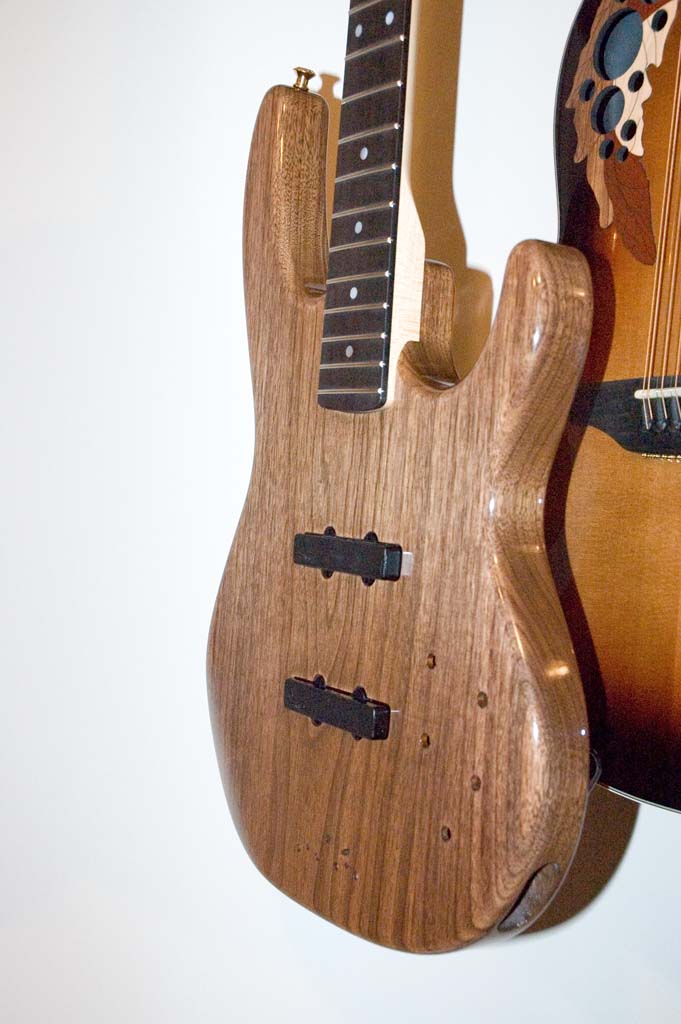 |
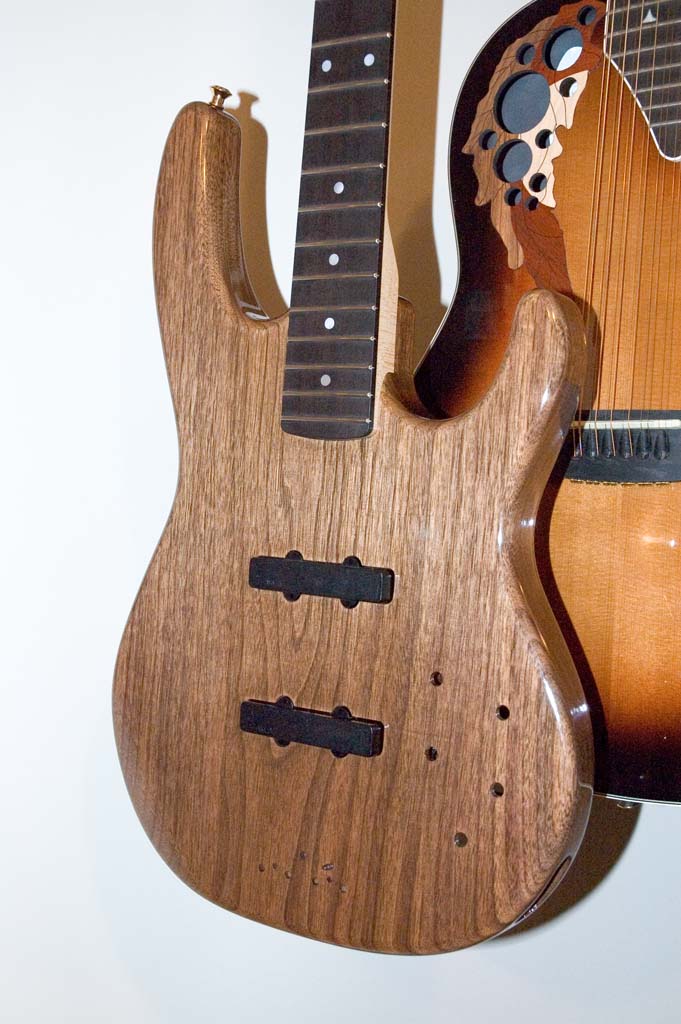
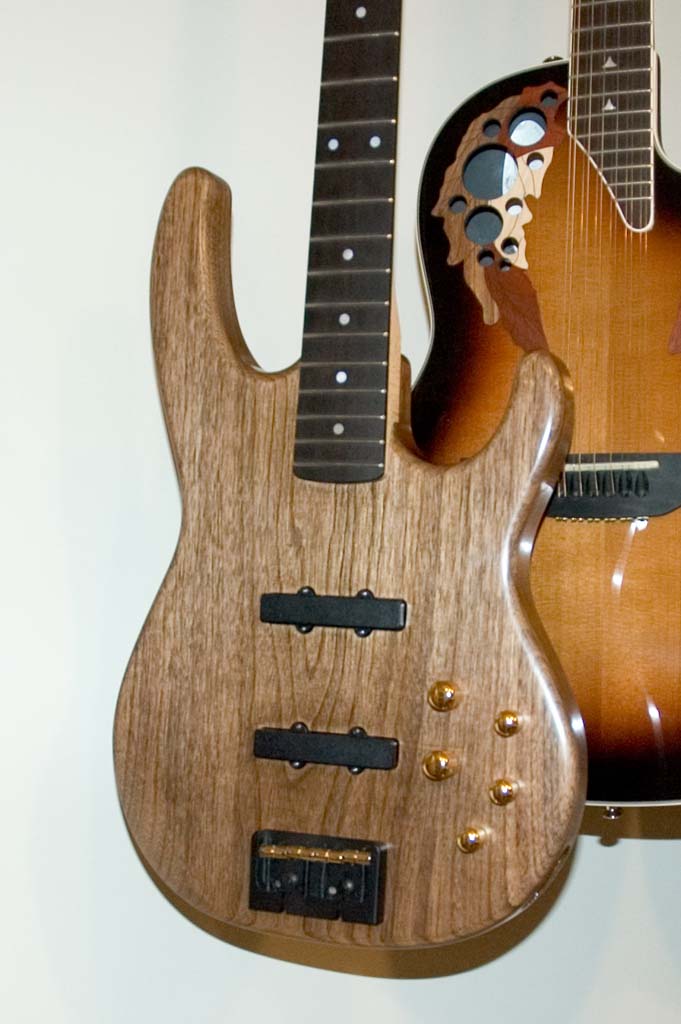
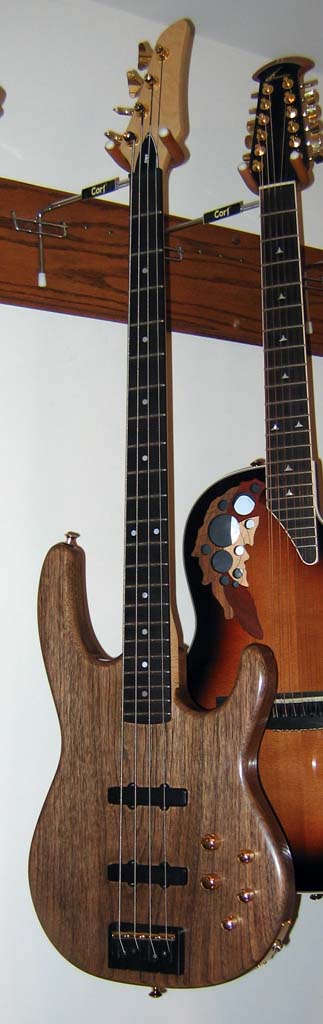
| At this point, I couldn't resist mounting the Neck and seeing how it would look |
I'm going to stop applying coats at this point and do a buff with Stock Sheen. |
I won't do the buffing until I have at least 72 hours drying. |
I'll make a decision then if more coats are needed. I'm happy with the look at this poing |
 |
 |
 |
 |
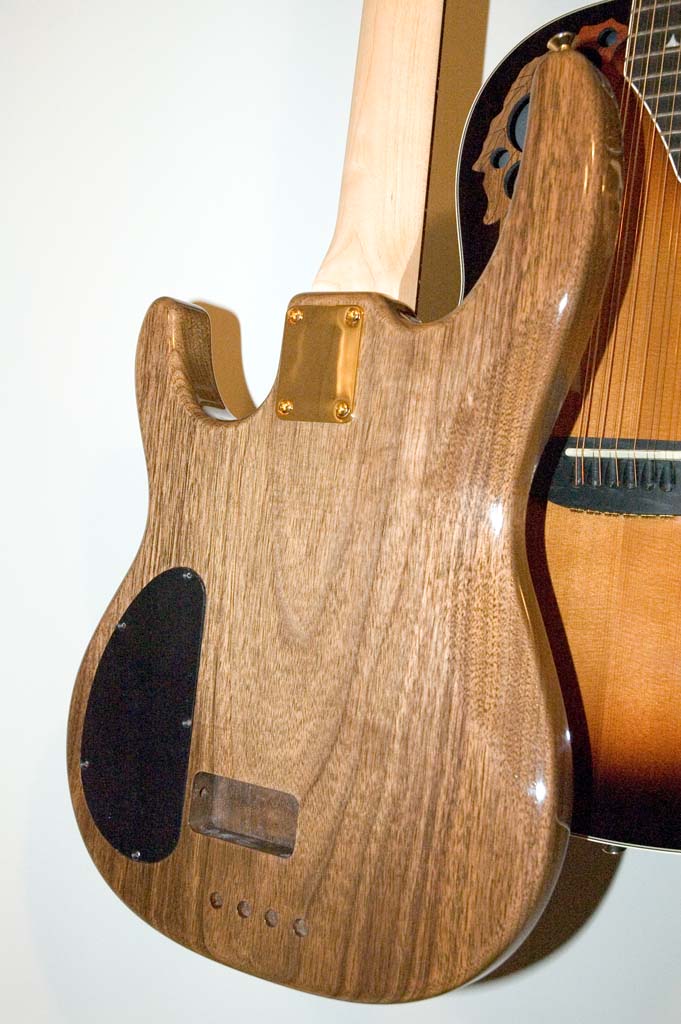
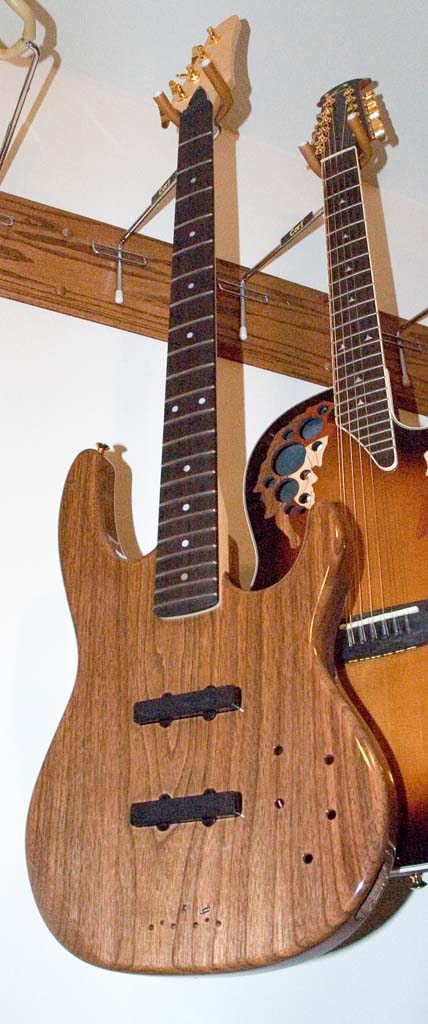
| The gold hardware looks awesome against the walnut |
 |
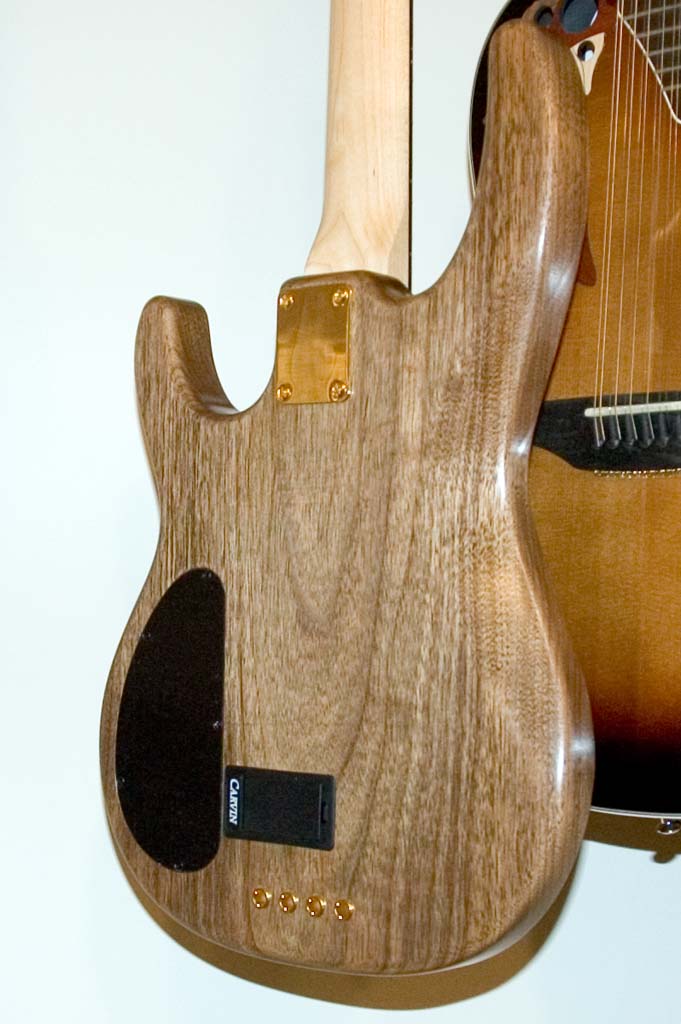 |
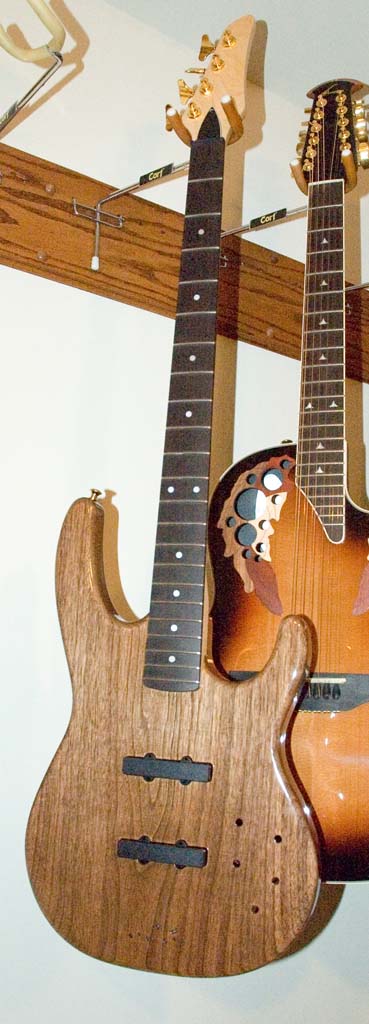
| Finish is complete, and ready to solder up. |
The wood grain is awesome to say the least. |
 |
 |
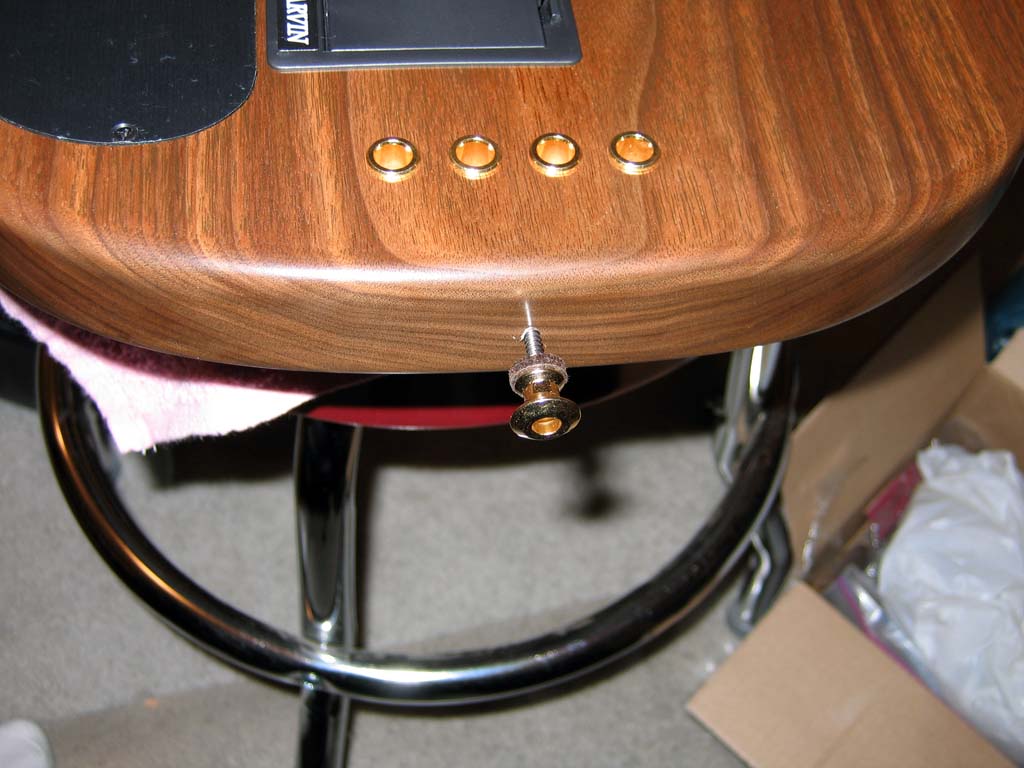 |
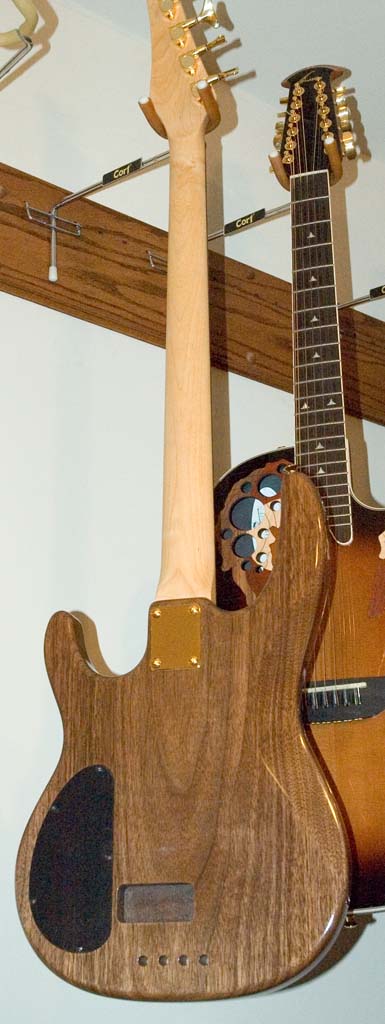
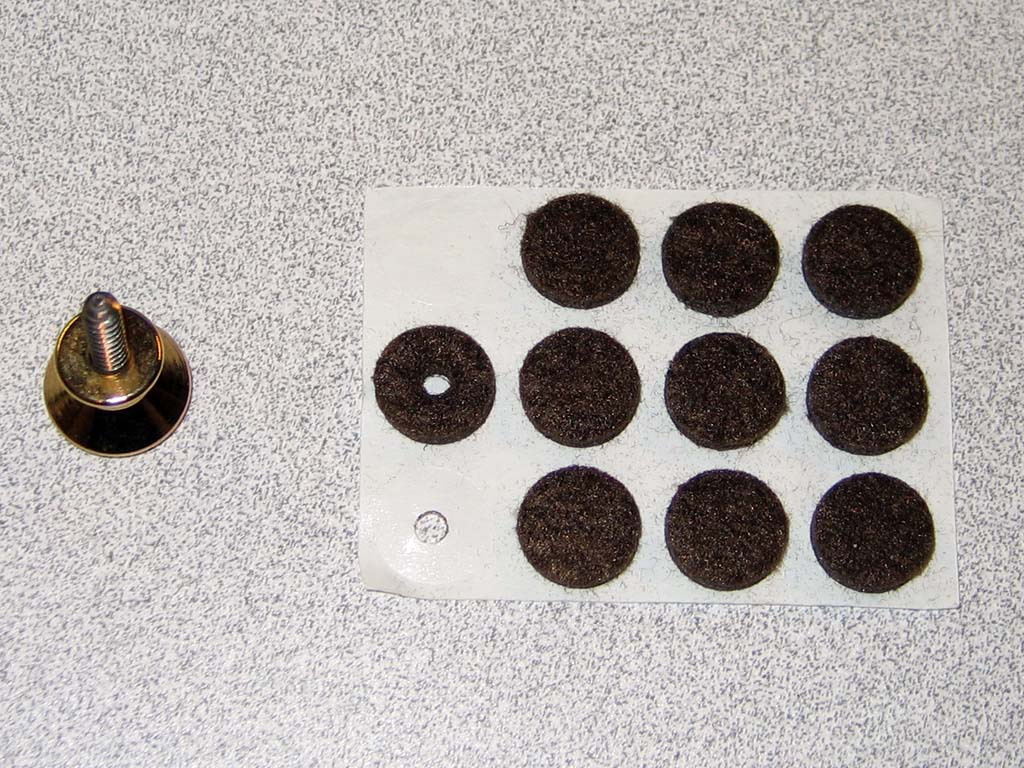
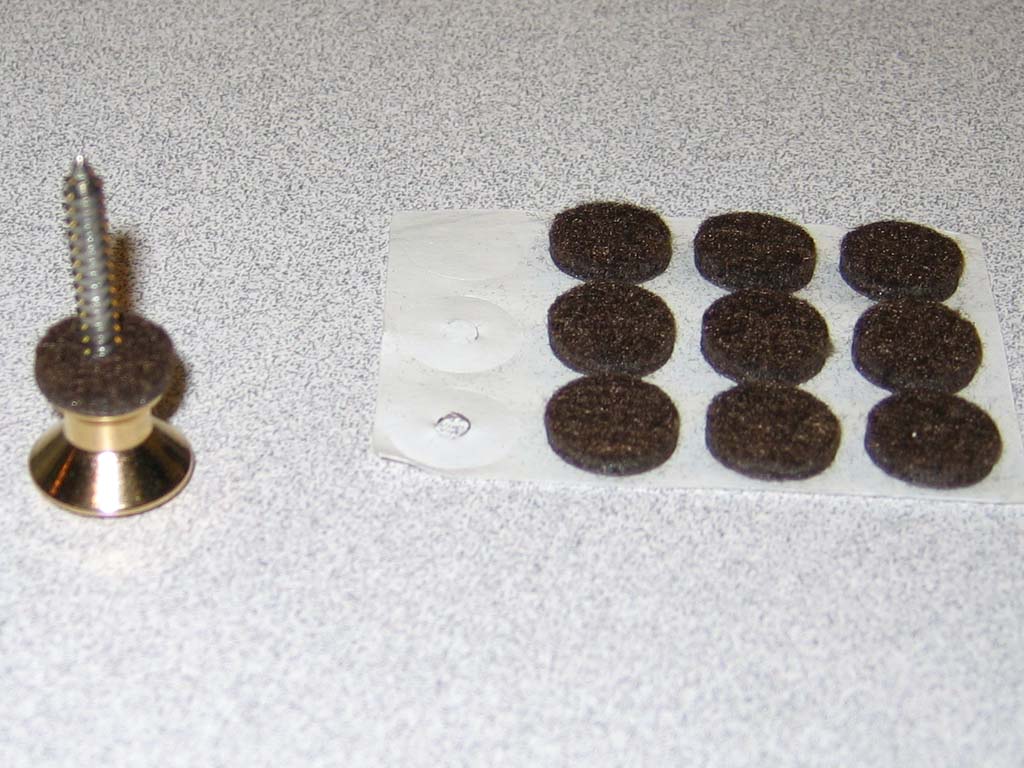
| I picked up these felt pads for the strap pins. |
I used a leather punch to make the holes. | This should keep the pins from biting in the wood. |
Click the thumbnails!


|